In this blog series, we have reviewed the processes of creating and setting up accounts for ...
Find Your Inspiration: A Guide to Getting Started with Pinterest
In this series, we have reviewed the processes of creating and setting up Facebook, Instagram, Twitter, and TikTok accounts. In this blog, you will learn how to create an account and set up a Pinterest profile. Although the COVID-19 pandemic has limited access to a busy social life, it has provided more time to get back into an old hobby or develop a new hobby to keep you busy. Pinterest is the perfect place to find inspiration and ideas for your next project. Follow along to create your account today:
Step 1: Create an Account
Go to www.pinterest.com and click "Sign up" at the top right-hand corner of the page. Your screen will now look like this: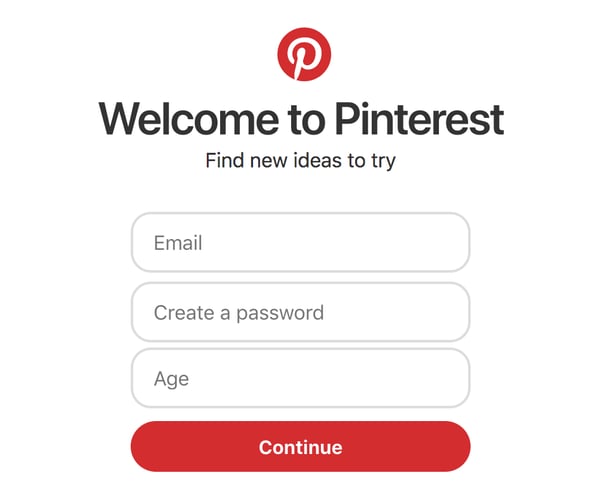
You are also given the option to sign up with an existing Facebook or Google account. For this blog, we will be explaining how to create a new account. Enter your email address, create a secure password, and enter your age. Click the red "Continue" button to go to the next step.
You will now be asked to enter your gender and preferred language.
Step 2: Enter Your Interests
You will be asked to enter your interests to create a feed specified for your interests. Your page will look like this:
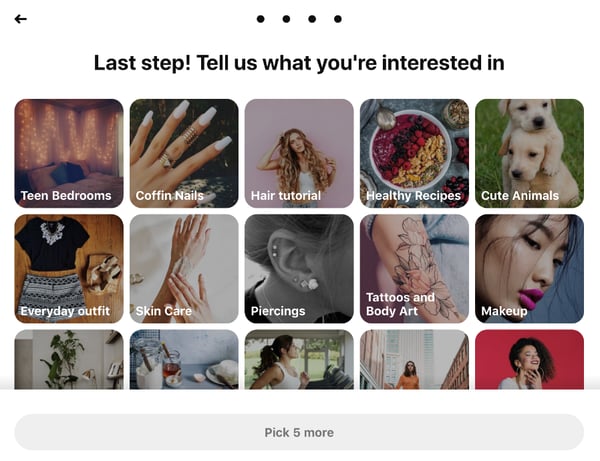
To view more interests, use your cursor to scroll up and down. Click on five or more of the suggested categories and then click "Done" to continue.
Step 3: Confirm Your Email
To confirm your email address, open the email from Pinterest that looks like this:
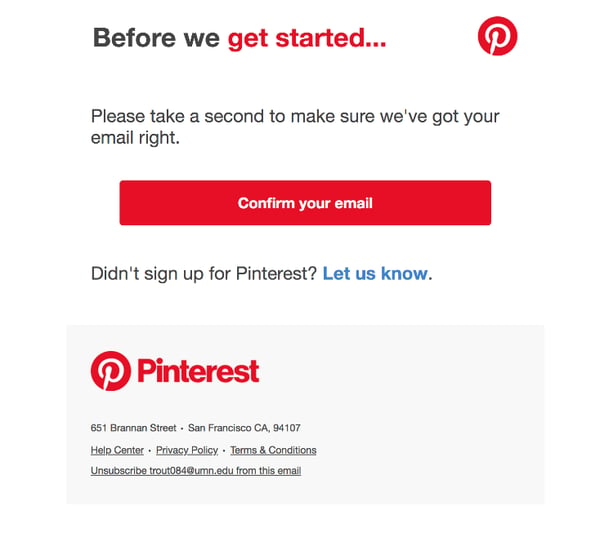 Click the red button that says "Confirm your email". You will be automatically redirected to your Pinterest home feed.
Step 4: Complete Your Profile
At the top right-hand of your screen, click the down arrow and then click on "Settings" and you will be brought to the "Edit profile" tab where your screen will look like this:
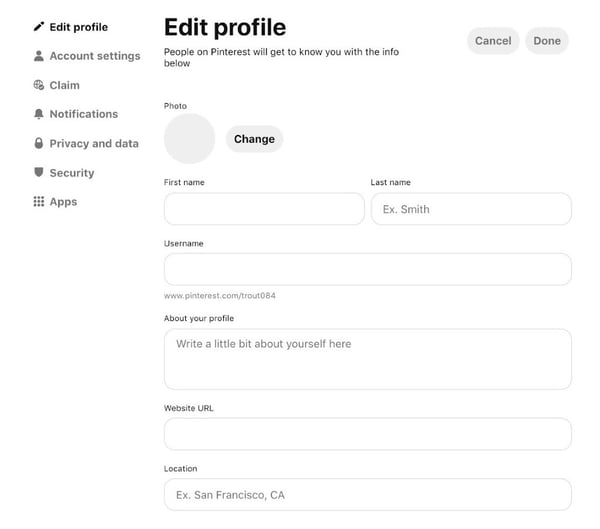 To add a profile photo, click the "Change" button next to the gray photo circle, and then click the red "Choose photo" button. You will be redirected to the files on your computer. On the left-hand column, scroll to the bottom and click "Photos". Your photos will appear, and you can choose one for your profile picture by clicking on the picture. Click the blue "Open" button in the bottom right-hand corner, and your profile photo will appear on your profile. Now, enter your first and last name. You were given an automated username, but you can choose to change your username by deleting the one you were given and typing in a new one.
In the box under "About your profile", you can write your hobbies or interests as your bio (biography). If you intend to use Pinterest to promote products, the bio is a great place to write about the content you will be posting. You can also choose to add a website link and your location (city or state). Once you have entered this information, click the red "Done" button at the top right-hand corner of the page.
Step 5: Notification Settings
Under the left-hand column of the page, click "Notifications". Your page will look like this:

Click any of the three "Edit" buttons to change your notification preferences on Pinterest, your email account, and your push notifications. Once you have updated your notification settings, click the red "Done" button at the top right-hand corner of the page.
Step 6: Privacy and Data Settings
Under the left-hand column of the page, click "Privacy and data". Your page will look like this:
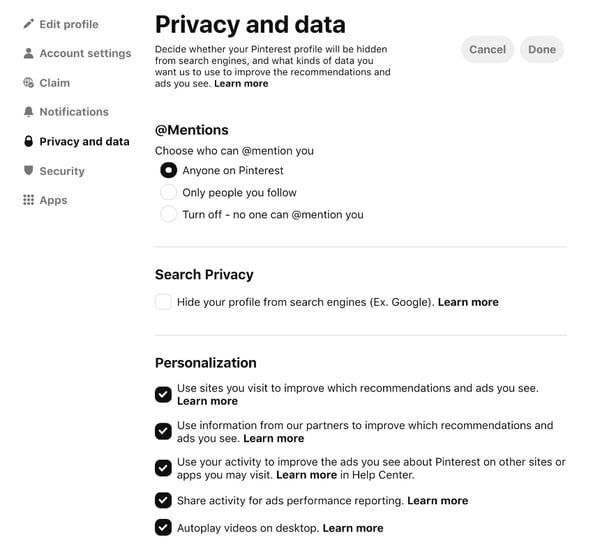
Here you can choose who can and cannot mention you in posts by clicking "Anyone on Pinterest, Only people you follow, Turn of- no one can @mention you". You can also click the "Search privacy" to hide your profile from search engines, such as Google. Lastly, you can select any of the five buttons under "Personalization" to customize more privacy options.
Step 7: Security
Under the left-hand column of the page, click "Security". Your page will look like this:
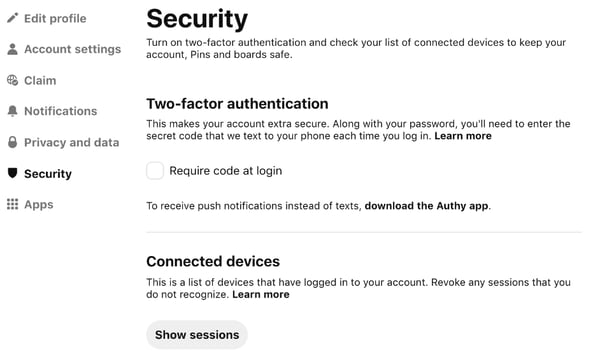
To enable two-factor authentication (double security of your account), click "Require code at login". Type in your password and click the red "Next" button. Now, enter your phone number and click "Next" to have a verification code sent to you by text message. Enter the verification code and click the red "Verify" button. You will be given a backup code, which can be used to verify your account if you are ever unable to verify your account by your email address or phone number. Save this backup code and keep it in a safe place that will not be lost. Click the red "Done" button to complete this step.
Step 8: Explore
On the top left-hand corner of the page, click "Home" to be brought to your feed. The posts here are based on the interests that you entered during step two. Use your cursor to scroll through the endless posts on your feed. Once you have found a post that you want to save, click on the photo, and the format of your screen will look similar to this based on the chosen post:
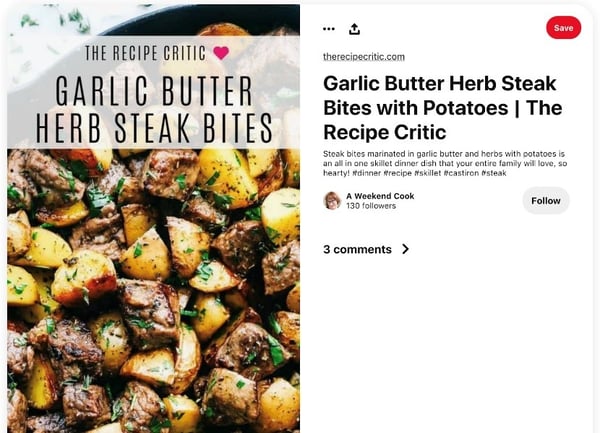
Click the red "Save" button at the top right-hand corner to create a new board. A board is a folder that you can title to organize your saved posts. In the box that says "Name your board", you can type a name for a new folder board based on the post you are saving. For example, if you are interested in cooking, you could title your board as "Recipes". Once you have named your board, click the red "Create" button. You will be able to see all of your boards on your profile.
Enjoy using Pinterest as a stress-free social media site to inspire creativity in your day-to-day life. Follow Living50+ to stay up-to-date on new content!